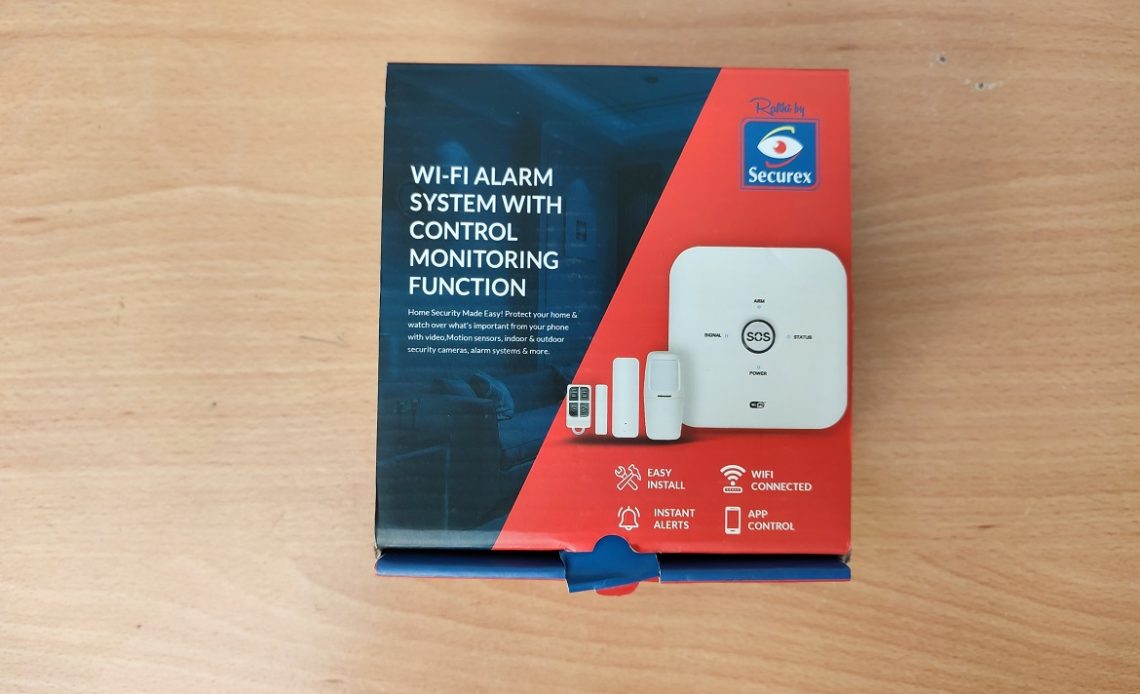
Rafiki Home Security solution is the latest product from Securex that seeks to change the way we approach home security in this country. Rafiki is a smart home security kit targeting domestic residences. This home security system is made for those who want an affordable and easy-to-manage home security system they can access on their smartphones through their home Wi-Fi connection no matter where they are.
Rafiki is a robust and easy-to-install home security kit that you can install in your home and protect your valuables. This do-it-yourself home security kit can provide surveillance, deterrence, self-monitoring, and response subscription through your smartphone.
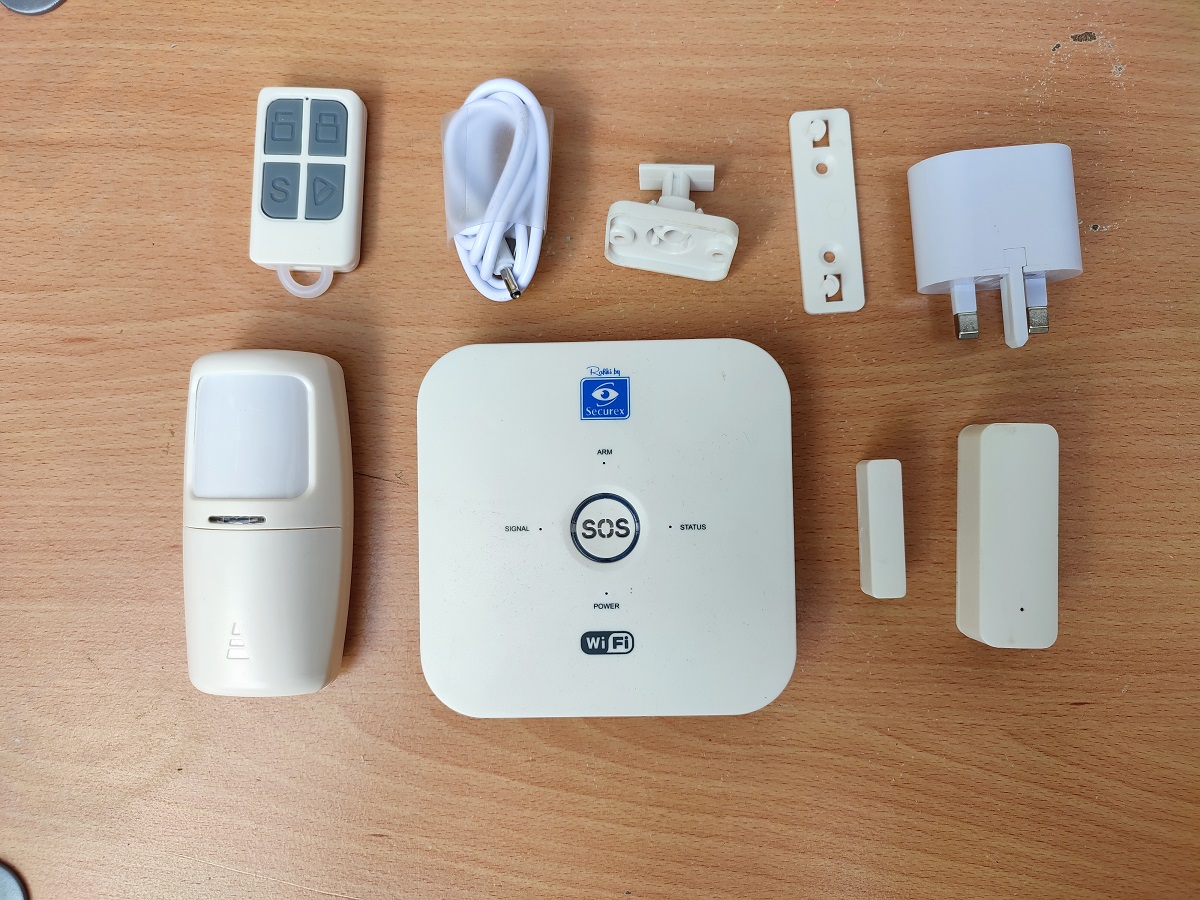
The Rafiki Home security solution kit is available starting from Ksh 7,540 and you can get it online here. For this, you are getting the following with the kit:
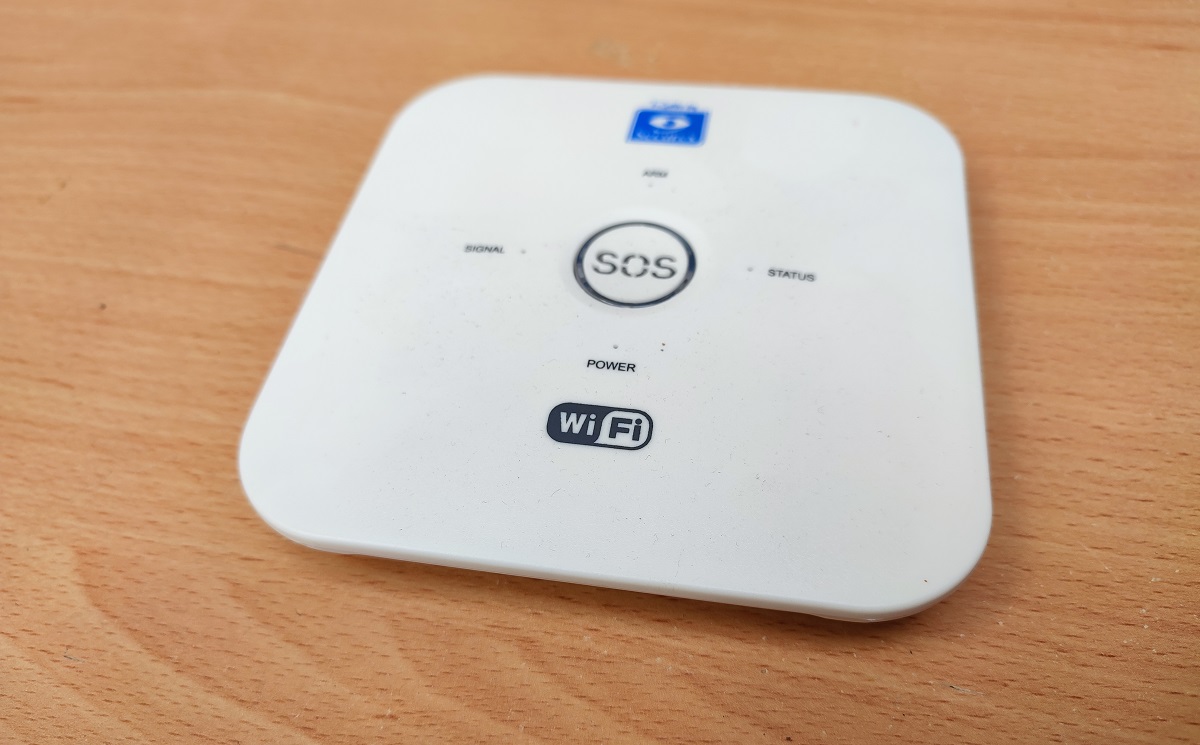
- Gateway Alarm Panel
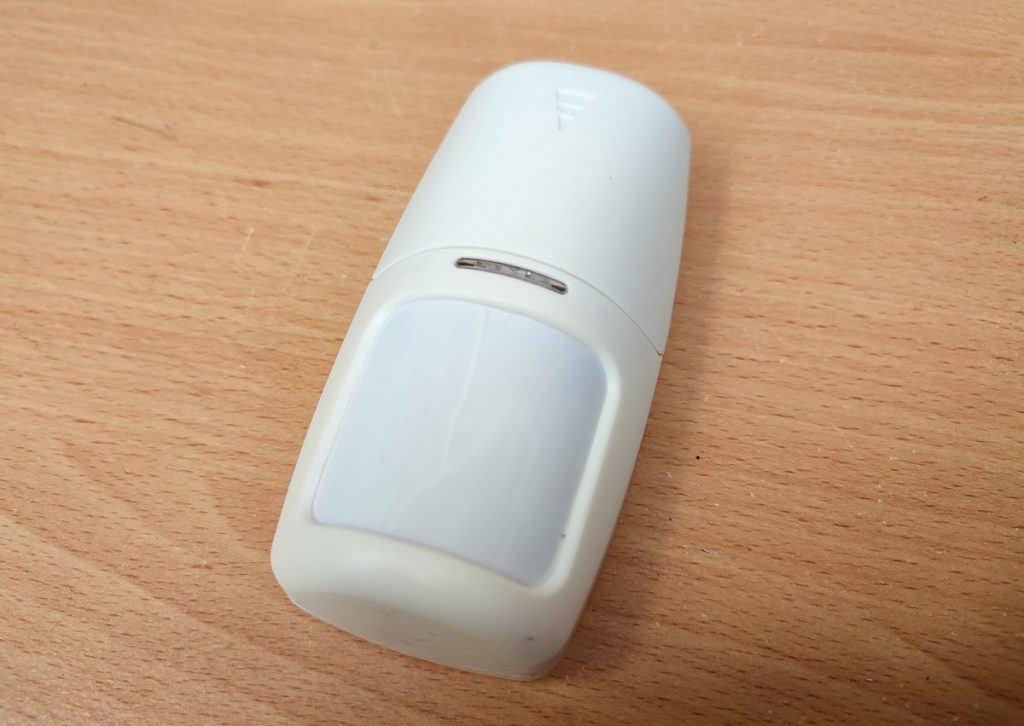
- PIR Motion Detector
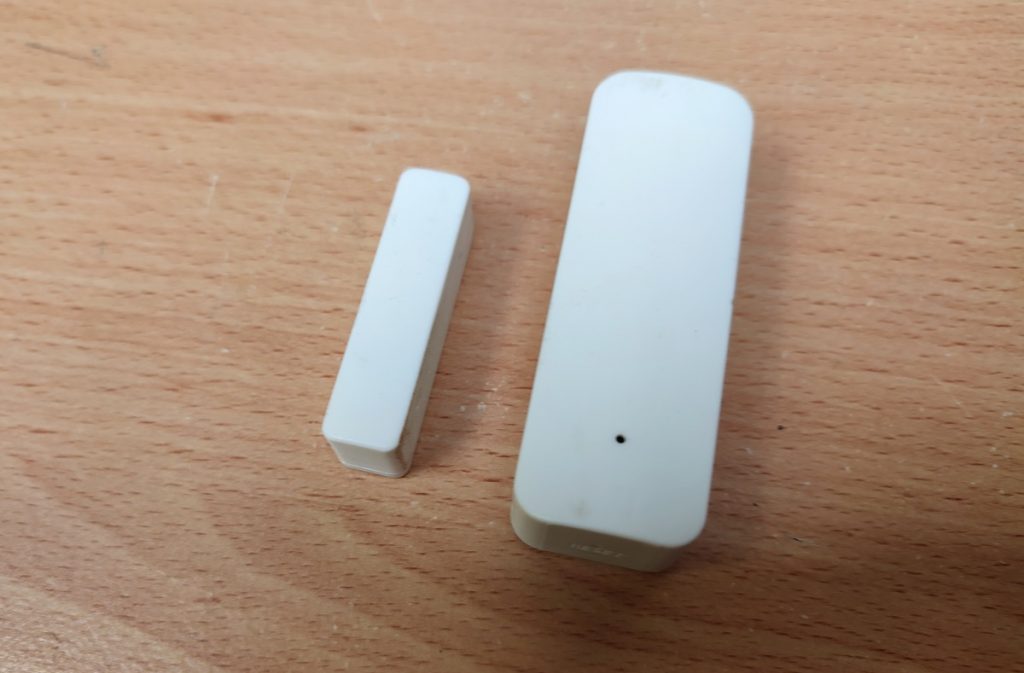
- A pair of Wireless Magnetic Sensors
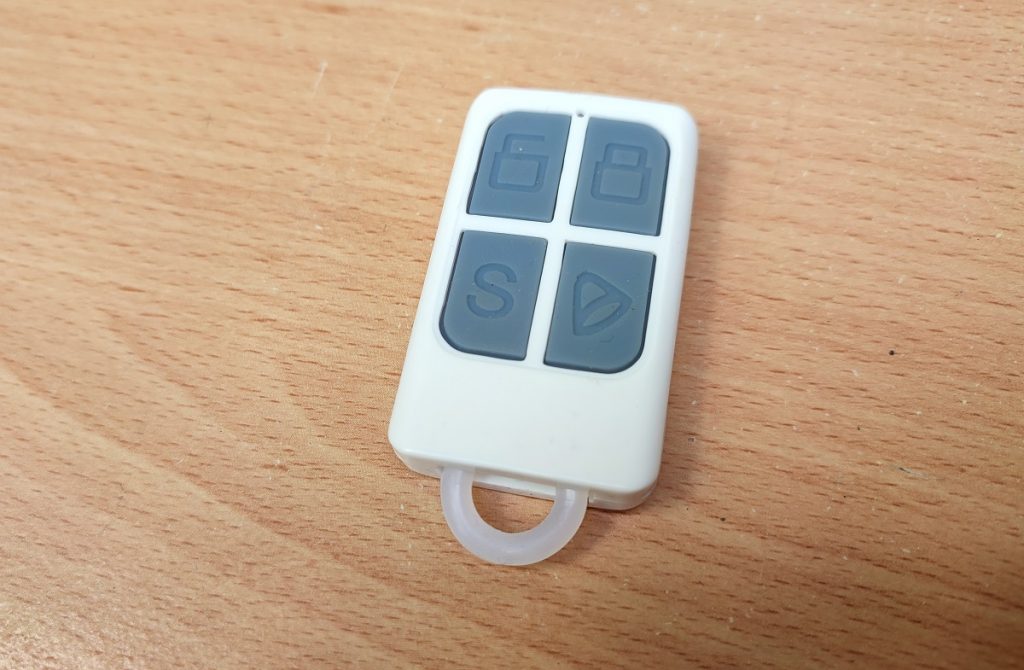
- Remote Control
This is just the basic kit, users will be able to add extra security accessories including smart indoor cameras, smart bulbs, motion sensors among others.
With the basics covered, the question you may have is how easy is it to install Rafiki by Securex? Having installed this, the process is easy and straightforward, you do not need any help to do it. In this post, I will guide you through the process to get started and you should be ready to protect your home within minutes.
Before you get started
A few notes before you get started. Following these should help you go through the process smoothly and without any problems.
Where you want to put it?
You will need to decide where you want to put all the stuff you have in the box.
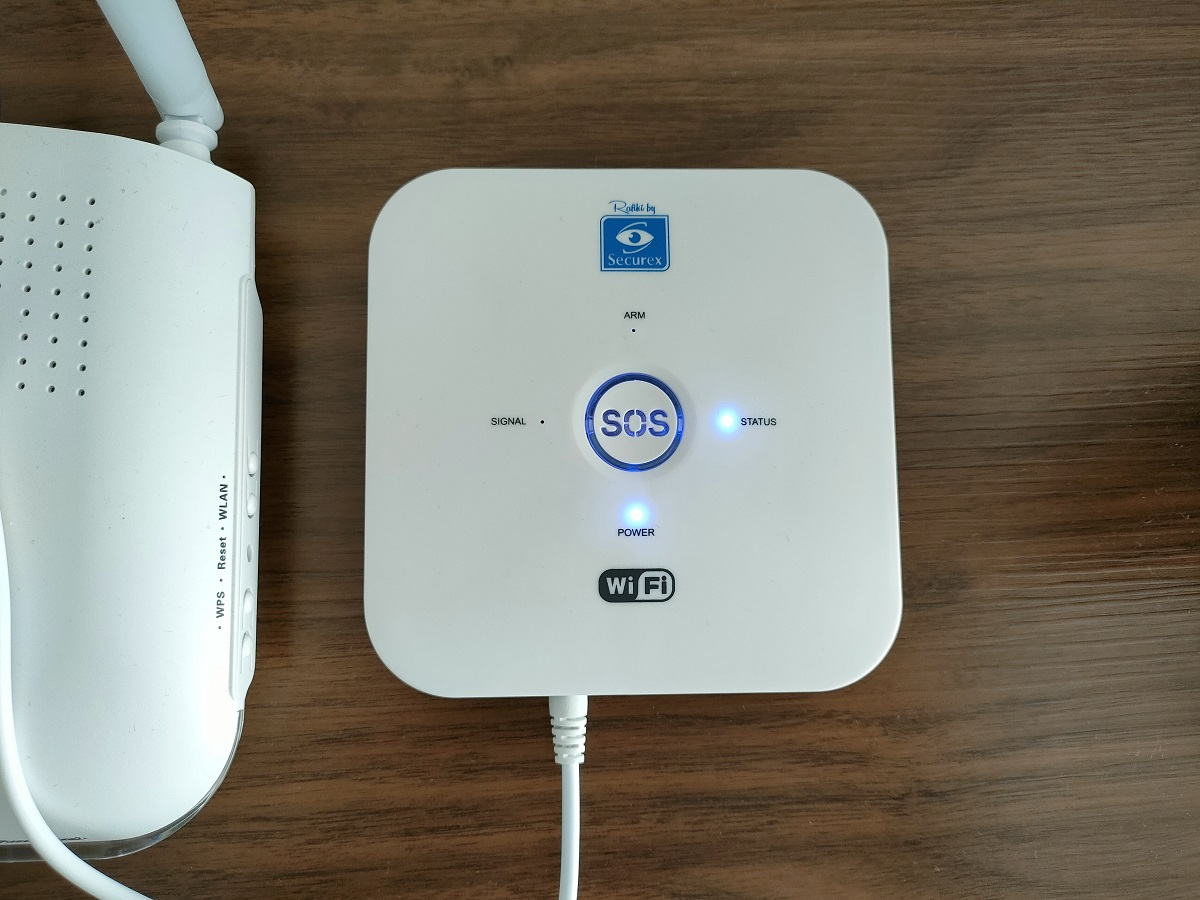
Gateway Alarm Panel: You may want to have this at a central place near a power outlet. Have it somewhere it will be easily visible.
PIR Motion detector: Depending on your house, you have to decide where this will be to monitor movement around the house accurately. You will probably want to have one on the front door and maybe the back door if you have one. If you have windows that can easily be accessed, you may need one there too.
Wireless Magnetic Sensors: These should be placed on your doors or windows to detect forceful break-in either in the window or door.
How to Install Rafiki By Securex
- Download the “Rafiki by Securex” app.
Search for this app on the Google Play Store or Apple App store. Download and install it, open the app, and register for an account by following the screen prompts.
- Set up the Gateway Alarm Panel
Take out the Gateway alarm panel, unpack it. You should have the base unit and a power cord adapter. Connect the panel to your Wi-Fi network to get started. You can only use a 2.4 GHz Wi-fi network as the panel does not support 5GHz networks.
Note: The Wi-Fi password should not contain any special characters and should only have letters and/or numbers.
Plug the Alarm Panel into the power outlet using the cable and power adapter included in the box. Turn on the ‘On/off switch at the back of the panel.
With the Alarm Panel switched on, it’s now time to connect it to your Wi-Fi network. This can be done in two ways:
- Log in to the account that you have just registered on the “Rafiki by Securex” app. Select ‘Auto Scan’ for the panel to be discovered and configured. While this is going on, press the CDDE button which is at the back of the Alarm panel. Hold this button for about 3 seconds until the panel beeps 6 times and release it when the panel starts blinking. Enter the network configuration state and you will be good to go.
- The second option involves adding the network manually. Select the ‘Add Manually’ option and then choose ‘Security and sensors’ followed by ‘Alarm Wi-Fi’ and then follow the prompts on the screen. Press on the CDDE button which is at the back of the Alarm panel. Hold this button for about 3 seconds until the panel beeps 6 times and release it when the panel starts blinking.
- Add Remotes and Detectors
With the Alarm panel properly configured, you can then add the remote, PIR motion detector, or magnetic sensors to the panel. This can be done via the app.
- Rafiki by securex remote
- Rafiki by securex PIR motion detector
- Rafiki by securex contact sensors
- Open the app and choose the panel you want to add the sensors or detectors too.
- Select the ‘Device’ button and then ‘Fast search’ to locate the specific product you want to add. For the remote, press any button and for the detectors, just turn them on and follow the prompts on the screen.
- Repeat these steps when adding any other sensor, camera, or kit you may want to have in your home security system.
With all the done, you are good to go as the panel is now properly set up and you can monitor it from anywhere you are. If you are interested in the Rafiki Home security solution, you can purchase it online here.


